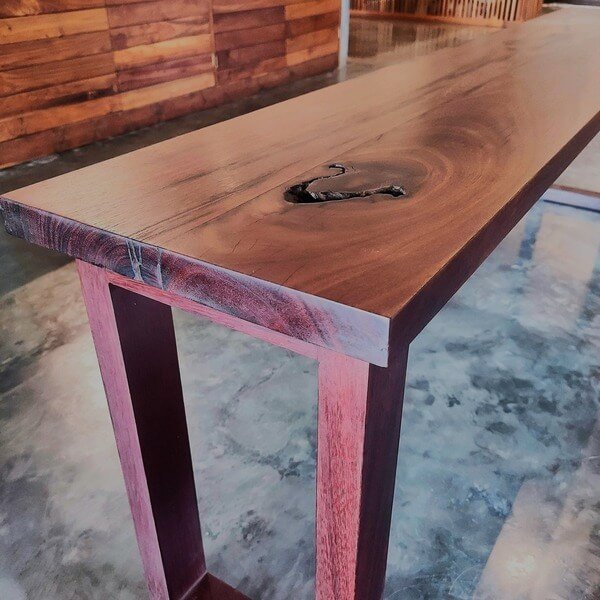
It’s “bench” month on Kaltimber’s monthly promotion so there is no better time for us to share our knowledge about how to build them with you!
Wooden benches are versatile and timeless additions to any outdoor or indoor space. They provide a comfortable seating option while adding a touch of natural beauty to the surroundings.
Building a wooden bench can be a rewarding and fulfilling project for both beginners and experienced woodworkers. In this guide, we will take you through the step-by-step process of building your own wooden bench.
Before you begin, gather the necessary materials and tools. Here's a list to get you started:
Materials:
Solid wood boards (such as pine or cedar) for the seat and legs
Wood screws
Wood glue
Sandpaper
Stain or paint (optional)
Varnish or sealant (optional)
Tools:
Tape measure
Pencil
Saw (circular saw or miter saw)
Drill
Screwdriver
Clamps
Sander or sanding block
Paintbrush or foam brush (if staining or painting)
Safety goggles
Dust mask
There are many DIY plans to help you in your project, available for free online.
But at Kaltimber we like to do our own so here it is from experts to you!
Step 1: Design and Measurements
Begin by deciding on the dimensions and design of your bench. Consider the available space and the purpose of the bench. Sketch out the design, noting the length, width, and height. Make sure to measure twice and double-check your calculations before proceeding.
Step 2: Cutting the Wood
Using a saw, cut the wooden boards according to your measurements. Remember to wear safety goggles and take necessary precautions while operating power tools. Cut the seat boards to the desired length and width. Cut the legs to the desired height, ensuring they are all the same length.
Step 3: Assembling the Seat
Lay out the seat boards side by side on a flat surface. Apply wood glue along the edges of each board and press them together. Secure the boards with clamps and allow the glue to dry as per the manufacturer's instructions. Once the glue is dry, reinforce the joints by drilling pilot holes and securing the boards with wood screws.
Step 4: Attaching the Legs
Measure and mark the desired locations for the legs on the underside of the seat. Apply wood glue to the top of each leg and place it in position. Use clamps to hold the legs firmly in place while the glue dries. Once the glue is dry, drill pilot holes through the seat and into the legs. Secure the legs to the seat with wood screws.
Step 5: Finishing Touches
Use sandpaper to smooth the surfaces and edges of the bench. Start with rough-grit sandpaper and gradually move to finer grits for a polished finish. Pay attention to any rough spots or splinters and sand them until the surface is smooth to the touch.
If desired, you can apply a stain or paint to enhance the appearance of the bench. Choose a color that complements your outdoor or indoor decor. Apply the stain or paint following the manufacturer's instructions and allow it to dry completely.
To protect the bench from the elements, you can also apply a varnish or sealant. This will help prevent moisture damage and extend the lifespan of the wood. Apply the varnish or sealant evenly, following the instructions on the product.
Step 6: Enjoying Your Wooden Bench!
Once the finish is dry, your wooden bench is ready to be used and enjoyed. Place it in your desired location, whether it's a garden, patio, or indoor space. Admire your craftsmanship and take pride in having built a beautiful and functional piece of furniture.
Building a wooden bench can be a rewarding DIY project that allows you to create a customized seating option for your space. With the right materials, tools, and a step-by-step approach, constructing a wooden bench isn’t that difficult. Have fun!


