
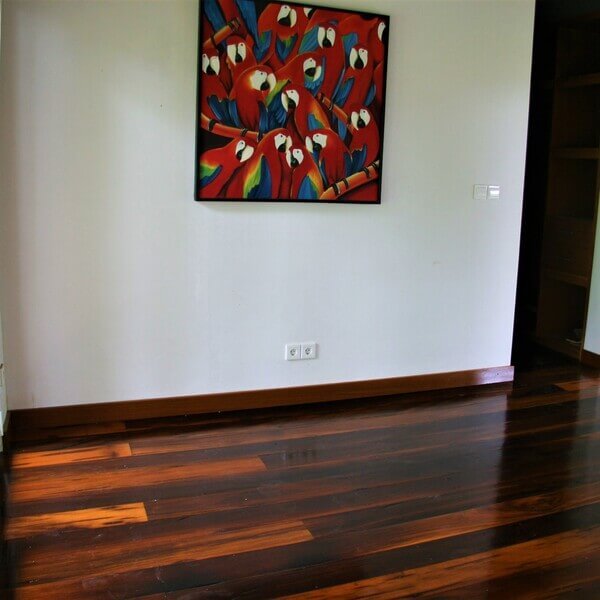
Installing hardwood flooring is a great way to add value and beauty to your home. One of the most challenging aspects of the process is handling corners and walls.
It's crucial to plan ahead and take the necessary steps to ensure that the finished product looks seamless and professional. In this article, we'll cover everything you need to know about how to handle corners and walls when installing hardwood flooring.
Planning ahead
The key to handling corners and walls when installing hardwood flooring is to plan ahead. Before you start the installation process, it's essential to measure the room and create a detailed plan for how you'll handle corners and walls. Make sure to take into account any irregularities or obstacles in the room, such as doorways, closets, or built-in furniture.
One of the best ways to plan ahead is to create a detailed diagram of the room. This diagram should include accurate measurements of the room, as well as any obstacles or irregularities. Once you have your diagram, you can use it to plan out the layout of your hardwood flooring. This will help you to determine where to start the installation process, as well as how to handle corners and walls.
Installing flooring around corners
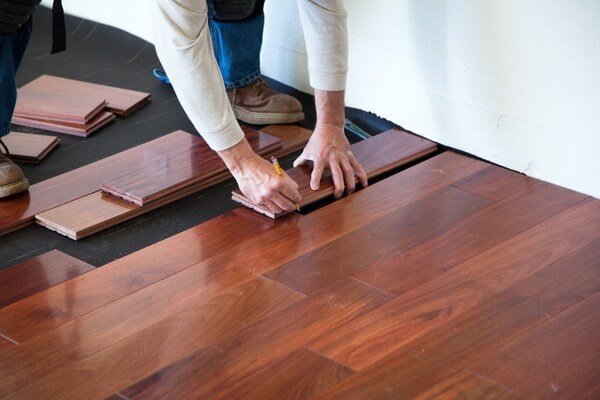
When it comes to handling corners, the key is to make sure that the flooring fits tightly around the corner without any gaps. To achieve this, you'll need to make some careful cuts to your hardwood planks.

The first step is to measure the length of the wall from the corner to the first joist. Then, cut a piece of hardwood flooring to fit the distance. Lay this piece of flooring along the wall, leaving a small gap between the end of the plank and the corner.
Next, measure the length of the wall from the corner to the next joist. Cut another piece of flooring to fit this distance, leaving a small gap between the end of the plank and the corner. Fit this plank tightly against the first piece of flooring.

Continue this process, working your way around the corner until you reach the end of the row. You may need to make additional cuts to ensure that the planks fit tightly around the corner.
Installing flooring around walls
When installing hardwood flooring around walls, it's crucial to leave a small gap between the flooring and the wall. This gap will allow the flooring to expand and contract with changes in temperature and humidity.

To create this gap, you can use spacers or shims. Place these spacers along the wall, leaving a gap of around 1/4 inch between the flooring and the wall. Make sure to place the spacers every few feet along the wall.
Once you've laid the first row of flooring, you can remove the spacers and install the baseboard or trim. This will cover the gap and give your finished product a professional look.
Tips for handling corners and walls
Here are some additional tips to help you handle corners and walls when installing hardwood flooring:
Use a jigsaw or handsaw to make precise cuts around corners and obstacles.
Measure twice and cut once to ensure that your cuts are accurate.
Use a pry bar or pull bar to help you fit planks together tightly.
Make sure to stagger your planks to create a seamless and natural look.
Work slowly and carefully to ensure that your finished product looks professional and polished.
You can do it!
Handling corners and walls when installing hardwood flooring can be a challenging task, but with the right preparation and tools, it's a task that can be easily accomplished. By planning ahead, making careful cuts, and leaving a small gap between the flooring and the walls, you can create a beautiful and seamless finished product. So if you're ready to install hardwood flooring in your home, follow these tips and tricks to ensure a professional and polished look